Transforming Your Garage into a Cricket Batting Cage
When preparing to set up your space, it’s important to first assess the area you will be working with. Take note of any potential obstacles or hazards that may interfere with the setup process. It’s crucial to create a safe and organized environment before proceeding with any further tasks.
Once the area has been evaluated, gather all the necessary tools and materials needed for setting up the space. This includes items such as measuring tape, markers, and any assembly equipment required. Having everything readily available will help streamline the process and prevent any delays or interruptions.
Clearing out the Garage
To begin clearing out the garage, start by categorizing items into three groups: keep, donate, and dispose. This organizational approach will help streamline the decluttering process and make it more manageable. Consider the functionality and sentimental value of each item to determine its placement in the respective group.
Once items are sorted, tackle one group at a time to prevent feeling overwhelmed. Begin with the dispose pile to eliminate any unnecessary clutter and create more space in the garage. Be decisive and ruthless in this step to avoid second-guessing your choices. Be sure to properly dispose of items according to local regulations to maintain an organized and clutter-free environment.
Installing the Netting
Once you have cleared out the garage and created an organized space, it is time to proceed with installing the netting. Begin by carefully unrolling the netting and inspecting it for any tears or damages. This step is crucial to ensure that the netting will function properly and provide the necessary safety for your setup.
Next, carefully position the netting in the desired location, making sure it is securely fastened to the walls and ceiling. Use appropriate hooks and anchors to ensure that the netting is tight and secure. Take your time during this process to guarantee that the netting is installed correctly and will effectively contain any balls or equipment during use.
– Carefully unroll the netting and inspect for tears or damages
– Position the netting in the desired location securely fastened to walls and ceiling
– Use appropriate hooks and anchors to ensure tight and secure installation
– Take your time during installation process to guarantee effectiveness
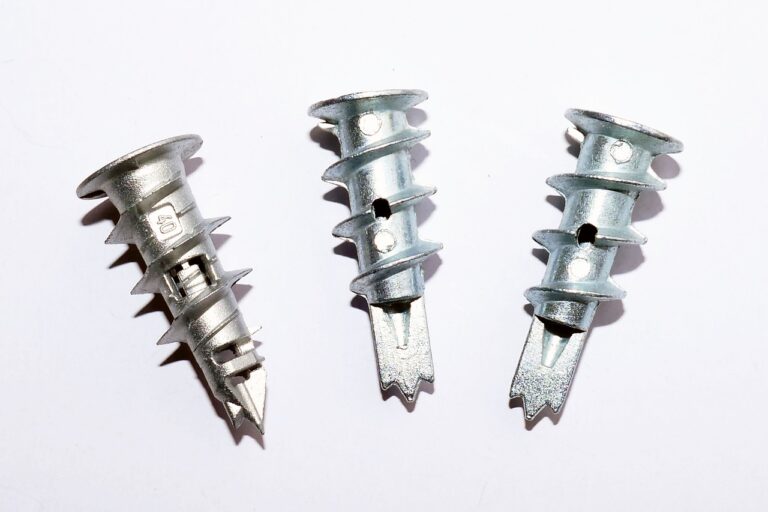
What tools do I need to install the netting?
You will need a drill, screws, measuring tape, and the netting itself.
Can I install the netting by myself or do I need help?
It is recommended to have someone help you with the installation, especially when securing the netting in place.
How long does it take to install the netting?
The time it takes to install the netting will vary depending on the size of the area and the complexity of the installation, but it can usually be done in a few hours.
Do I need to have any special skills to install the netting?
While basic DIY skills are helpful, you do not need any special skills to install the netting. Just follow the instructions carefully.
Can the netting be easily removed if needed?
Yes, the netting can be easily removed if needed by unscrewing it from the designated points.